Enter a new listing
Entering a
listing involves entering all required listing information. Once a listing
is successfully entered, you can upload property photos, attach documents,
and more from the Revise Listing menu.
Required fields
display in red and are denoted with an asterisk (*).
To enter a
new listing
- From
the Listings menu, select Enter New Listing. ( If you do not see these menu
items, you may not have the access rights needed to enter listings.)
- Enter
the information required on the initial Enter New Listing page ( Property
Type, County, etc.) and click the Calculate Map Pin Placement button on the bottom of the page.
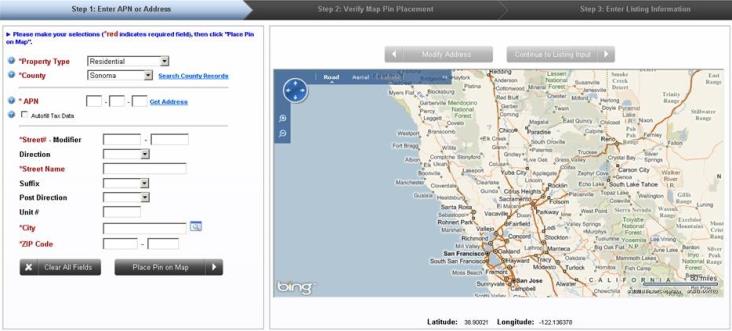
- The system will attempt to automatically place the listing on the map located on the right of the page. If the address cannot be validated, or if you want to adjust the placement of the map pin, just left-click the icon and drag and drop it to the desired location. Click the Continue to Listing Input icon under the map. The page will display the following message when the address has been successfully mapped:

- Complete the Listing Information page, entering all information for the listing.
- Click Submit in the MLS toolbar.
NOTE: The system will automatically check for errors and
display them at the top of the form after submission.
Toolbar buttons
Submit – Click
when all listing information has been entered.
Save Progress
- Click to save your progress as you work.
Save as Incomplete
& Exit - Click if you want to return to work on your listing
at another time.
Cancel - Click
to cancel the listing.
TIP: Click the help icon  for help on a specific
field.
for help on a specific
field.
Return to the Home Page
